Food photos that perform well on Instagram, blogs or delivery menus rarely depend on expensive cameras. According to a guide published by restaurant-supply company WebstaurantStore, the foundational principles — light, angle and background — apply regardless of the equipment used, from a smartphone to a DSLR.
Start with light, not equipment
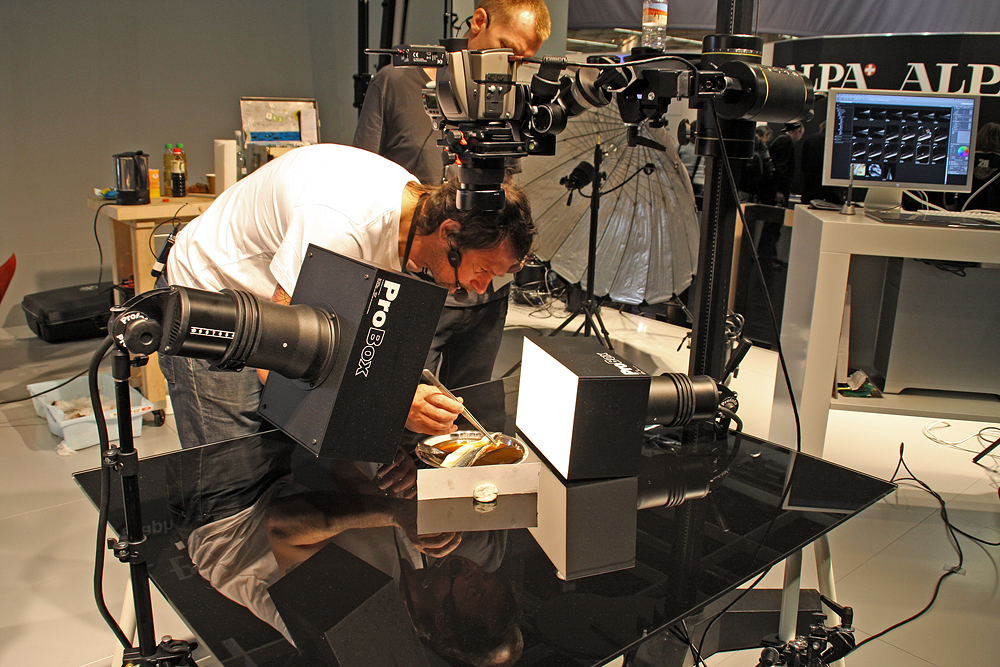
Both WebstaurantStore's guide and a 2026 food-photography guide from online class marketplace Classpop recommend natural window light over indoor bulbs or flash. WebstaurantStore specifically warns against harsh fluorescent lighting and advises using a diffuser to soften direct sunlight. Flash photography is discouraged because it tends to create unflattering reflections on glossy or wet food surfaces.
Classpop's guide adds that the direction of light changes the mood of a shot: backlighting and side lighting can be used deliberately, while light from a standard interior lamp is described as creating unflattering yellow tones that are hard to correct later.
Match the angle to the dish
WebstaurantStore's guide lays out angle choices based on the shape of the food rather than a single 'best' angle for everything.
Recommended camera angles by dish type (WebstaurantStore)| Dish type | Recommended angle | Why |
|---|
| Flat items (pizza, appetizers) | Overhead (90°) | Shows the full layout of the plate |
|---|
| Shaped foods (burgers, cakes) | Side angle | Reveals layers and height that an overhead shot would hide |
|---|
| Tall items (soups, ice cream) | 45-degree angle | Balances a view of the surface with the container's shape |
|---|
Composition: thirds, space and framing
Classpop's guide points to the rule of thirds — dividing the frame into a nine-square grid and placing the dish off-centre on one of the intersection points — as a standard composition technique. It also distinguishes between vertical framing, which it says suits social media feeds and stories, and horizontal framing, which it says is more suited to websites and blog headers.
Negative space, meaning the empty area around the dish, is listed as a way to give a photo room to breathe without making the composition feel empty. Classpop's guide also names several specialised formats used by food creators: close-up or macro shots to show texture, flat-lay overhead shots for ingredient or spread photos, and action shots that capture a dish being poured, sliced or garnished.
Styling and background
WebstaurantStore's guide advises testing different background surfaces — such as wood, tile, cloth or stone — to match the style of a dish. It recommends keeping backgrounds uncluttered, summarised in the guide as a 'less is more' approach, since busy backgrounds and clashing colours pull attention away from the food. Garnishes, utensils and a small number of coordinating props are suggested as ways to add context without crowding the frame.
Classpop's guide adds that plating itself is part of photography preparation: removing excess sauce drips, placing garnishes deliberately, and cleaning the rim of the plate before shooting are described as steps that affect the final image as much as camera settings do.
Editing without overdoing it
On post-production, WebstaurantStore's guide recommends adjusting white balance using a neutral-coloured reference point in the frame, then fine-tuning contrast and sharpness to highlight the dish's key features. It cautions against over-editing, saying this can make food look unnatural rather than more appetising.
Classpop's guide notes that more elaborate effects — such as splash photography or food 'levitation' shots, where ingredients appear suspended in mid-air — are typically achieved by shooting in continuous mode and combining multiple exposures in post-production rather than captured in a single frame.
- Shoot near a window; diffuse direct sunlight rather than using flash or overhead bulbs.
- Choose the angle based on the dish's shape: overhead for flat food, side-on for layered food, 45 degrees for tall items.
- Keep backgrounds simple and matched to the dish; avoid clutter.
- Use the rule of thirds and decide between vertical (social) or horizontal (web) framing before shooting.
- Edit for accurate white balance and natural-looking contrast; stop before colours look exaggerated.
This piece was prepared with artificial intelligence and passed an automated source check before publication. If you see an error, ask for a correction. Request a correction or reply · How we make this