Space · Guide
A Beginner's Guide to Photographing the Night Sky and Constellations
Published:
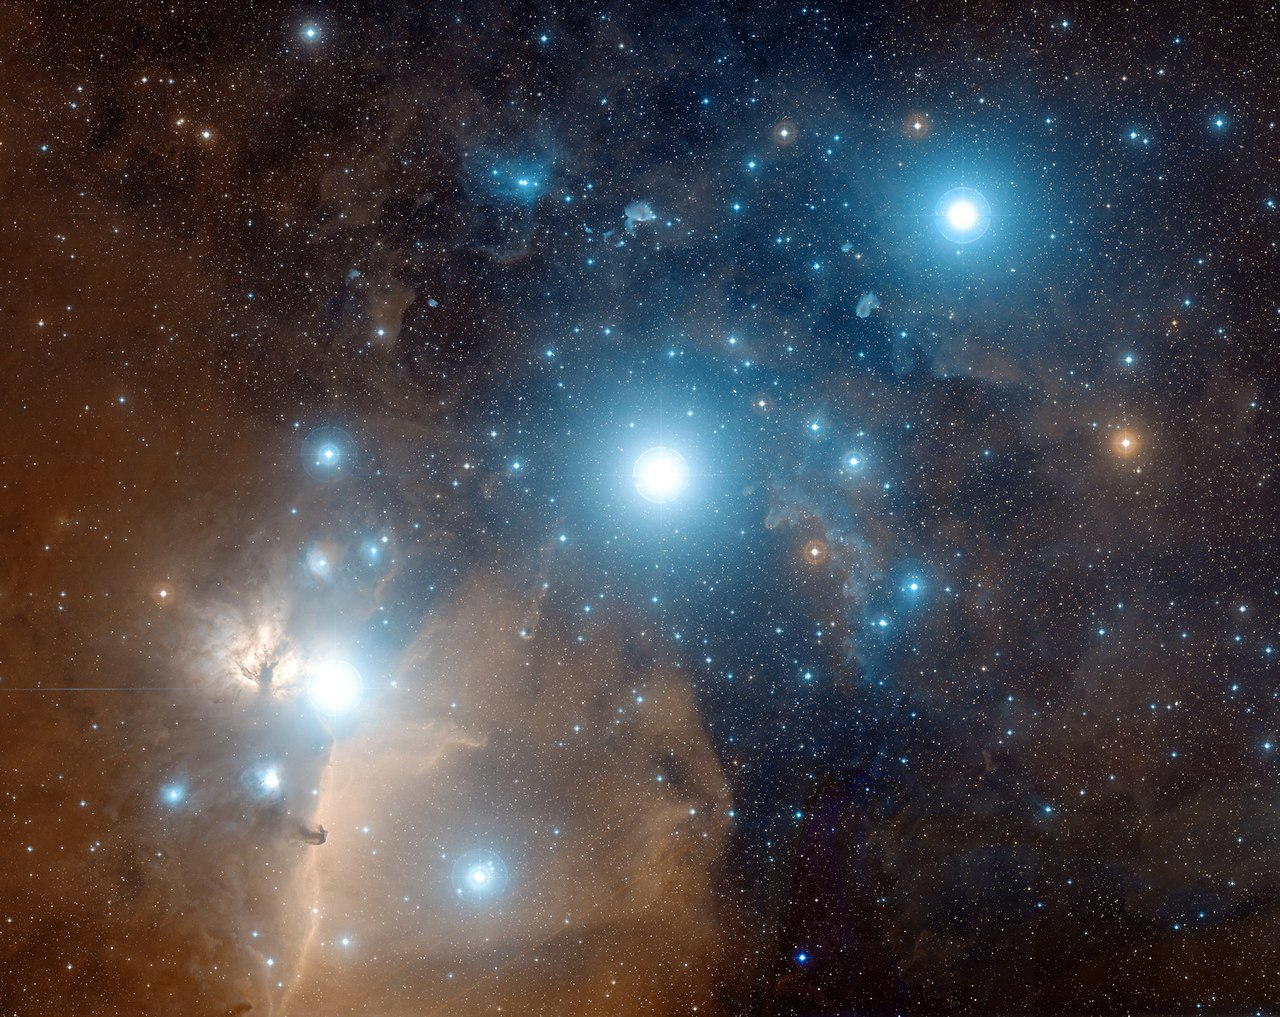
In brief
Photographing stars and constellations requires no special gear to start: a stable tripod, manual exposure control, and a wide-open aperture are enough, according to NASA and the Planetary Society. This guide walks beginners through choosing a dark-sky location, learning a few anchor constellations, and setting exposure step by step, whether using a dedicated camera or a smartphone.
Night sky photography has become one of the most accessible branches of astronomy hobbyism, since modern smartphones and entry-level cameras can now capture stars that were once visible only through long exposures on specialized equipment. NASA's skywatching guidance notes that observers do not need special gear to begin enjoying the sky, since "your own eyes are often the best way to enjoy observing" wide, panoramic views. For photography specifically, the step up is a camera or phone that allows manual control of exposure.
What You Need to Start
- A camera with manual mode, or a smartphone with a manual-control camera app
- A sturdy tripod, or a stable support such as a phone mount, wall, or rolled clothing
- A wide-angle lens with an aperture of f/2.8 or wider for wide-field shots of the Milky Way
- A shutter-release cable or a self-timer, needed once exposures run longer than 30 seconds
- Extra batteries, since cold temperatures and long exposures drain them quickly
The Planetary Society lists these four items — a manual camera, tripod, wide lens, and shutter-release cable — as sufficient for a first outing. For those without a dedicated camera, AstroBackyard's smartphone guide points to manual-control apps such as Camera FV-5, ProShot, or Expert RAW on Android, and ProCam 8, NightCap Camera, or Slow Shutter Cam on iPhone, which unlock settings not available in a phone's default camera mode.
Camera Settings for Star Photography
Exposure settings depend on what is being photographed. Stars and the Milky Way need long exposures and high ISO to gather faint light, while the Moon is bright enough to need the opposite: short exposures and low ISO, according to the Planetary Society.
| Setting | Milky Way (dedicated camera) | Moon (dedicated camera) | Smartphone (general night sky) |
|---|---|---|---|
| ISO | 1600–6400 | 100 or lower | 1600–3200 |
| Aperture | f/2 to f/2.8 | f/11 to f/16 | Lowest f-number available, around f/1.8–f/2.0 |
| Shutter speed | 10–30 seconds | 1/60 to 1/125 second | 15–30 seconds |
| Extra notes | Wide-angle lens; set white balance to 4000–5000K | 200mm telephoto lens minimum; shoot when the Moon is highest in the sky | Manual focus at infinity; turn off flash and HDR |
To avoid stars blurring into short trails during a long exposure, the Planetary Society recommends the "500 Rule": divide 500 by the lens focal length to get the maximum exposure time in seconds for a full-frame camera. On a crop-sensor camera, the focal length should first be multiplied by roughly 1.5 before dividing. A 24mm lens on a full-frame body, for example, allows about a 20-second exposure before trailing becomes visible.
Focusing in the Dark
Autofocus generally fails in near-total darkness, so both the Planetary Society and AstroBackyard recommend switching to manual focus. The method is the same across cameras and phones: switch on the screen's live view, point at the brightest star or planet in the frame, zoom in digitally on that point as far as the screen allows, then turn the focus ring slowly until the star appears as small and sharp as possible before locking focus at infinity.
Choosing a Dark, Clear Night
Artificial light and moonlight are the two biggest obstacles to seeing faint stars. The Bortle scale, created by amateur astronomer John E. Bortle and published in the February 2001 edition of Sky & Telescope magazine according to its Wikipedia entry, ranks sky darkness on a nine-level scale. At Class 1–2 sites, the Milky Way is bright enough to cast faint shadows and the Milky Way shows strong detail at Class 3–4 rural sites; by Class 5–6 suburban skies it looks faint or is visible only near the zenith, and at Class 7–9 urban and inner-city skies it generally disappears and individual constellations become hard to pick out.
For Milky Way shots specifically, the Planetary Society advises shooting during the new Moon or within about a week before or after it, since a bright Moon washes out faint stars.
Learning the Constellations Before You Shoot
Framing a shot is easier once a photographer can recognize a few reference patterns in the sky rather than searching blindly. EarthSky describes the Big Dipper, an asterism within the constellation Ursa Major, as one of the easiest star patterns to find, visible on nearly every clear night north of the 35th parallel. Its position changes with the seasons, rising highest in evening skies during spring and summer — summarized by the saying "spring up and fall down" — and sitting lower near the horizon in autumn and winter.
The Big Dipper also works as a signpost to other stars. EarthSky explains that the two outer stars of the Dipper's bowl, Dubhe and Merak, are known as "the Pointers": an imaginary line drawn through them leads to Polaris, the North Star, which marks the end of the Little Dipper's handle. The Little Dipper itself is harder to see in full, since the stars between Polaris and its outer bowl, Kochab and Pherkad, are comparatively dim and need a darker sky to spot.
Step-by-Step: Taking Your First Shot
- Pick a location away from city lights, using a light-pollution map or the Bortle scale as a guide, and scout it in daylight if possible.
- Check the Moon's phase and rise or set time; for Milky Way shots, plan around the new Moon.
- Set up your tripod, or a stable support if using a phone, well before full darkness.
- Switch the camera or app to manual mode and set RAW capture if available.
- Set aperture to the widest the lens allows, then dial in ISO and shutter speed using the table above as a starting point.
- Switch to manual focus, zoom in on the brightest star in live view, and turn the focus ring until the star is as sharp and small as possible.
- Apply the 500 Rule to your focal length to find the longest shutter speed before star trails appear.
- Take a test exposure, review it zoomed in, and adjust ISO or shutter speed if the image is too dark, too bright, or shows trailing.
- Once settings look right, use a shutter-release cable or timer for any exposure beyond 30 seconds to avoid camera shake.
NASA also points beginners toward free tools once they are ready to plan return trips: the Spot the Station app tracks International Space Station passes, and NASA's Eyes on the Solar System includes a telescope mode showing what is visible above a chosen location at a given time.
Questions
- Do I need an expensive camera to photograph the night sky?
- No. NASA notes that no special gear is required to enjoy the night sky, and AstroBackyard's guide shows that a smartphone with a manual-control app (such as ProCam 8 or NightCap Camera on iPhone, or Camera FV-5 on Android) can capture stars using settings close to those of a dedicated camera.
- What is the 500 Rule in star photography?
- According to the Planetary Society, it is a formula — 500 divided by the lens focal length — that gives the maximum exposure time in seconds before stars start to blur into visible trails on a full-frame camera; crop-sensor cameras need the focal length multiplied by about 1.5 first.
- What is the Bortle scale and why does it matter for photography?
- The Bortle scale is a nine-level scale created by John E. Bortle and published in Sky & Telescope in February 2001, used to rate how dark a location's sky is; per the scale's description, the Milky Way is easily visible at Class 1–4 sites but fades or disappears from Class 5 upward, directly affecting how much detail a photo can capture.
- How do I find constellations without an app?
- EarthSky recommends learning the Big Dipper first, since it is visible almost every clear night north of the 35th parallel; its two bowl-pointer stars, Dubhe and Merak, point toward Polaris, the North Star, which can then be used to locate the fainter Little Dipper.
- When is the best time to photograph the Milky Way?
- The Planetary Society advises shooting during the new Moon or within about a week before or after it, since brighter moonlight washes out the faint light of the Milky Way.
Sources
This piece was prepared with artificial intelligence and passed an automated source check before publication. If you see an error, ask for a correction. Request a correction or reply · How we make this
Related
SpaceNews
SpaceX Set to Launch 32 Payloads on Bandwagon-5 Mission — No Jellyfish Specimens Aboard
Despite a spike in searches linking SpaceX's Bandwagon-5 mission to "jellyfish," no jellyfish specimens are flying on the Falcon 9 rocket. "Space jellyfish" is the nickname for a glowing, tentacle-like cloud that rocket exhaust can form during twilight launches, and Bandwagon-5 — scheduled to lift off from Cape Canaveral on October 19, 2026 — is carrying 32 satellite and technology payloads, not biological research subjects.
SpaceGuide
How to Observe Moon Phases and Full Moons: A Practical Guide
A full lunar cycle lasts about 29.5 days and moves through eight phases, from new moon to full moon and back to new. This guide explains how to track those phases, which phase and equipment work best for seeing craters, and what lies behind named full moons such as the Hunter's Moon due on October 26, 2026.

SpaceArticle
How Rockets Work: Engine Technology and Space Launch Mechanics Explained
Rocket engines generate thrust by burning a fuel and an onboard oxidizer in a combustion chamber and expelling the hot gas through a nozzle, following Newton's third law. Because that oxidizer is carried on board, rockets can work in the vacuum of space, and because of the exponential cost of speed described by the Tsiolkovsky rocket equation, launch vehicles are built in multiple stages that are shed once their propellant is spent.
SpaceGuide
Beginner's Guide to Choosing and Using a Telescope for Stargazing
For a first telescope, astronomy guides agree that aperture (the diameter of the main lens or mirror) matters more than magnification, and many recommend starting with binoculars before buying a telescope. A 6–8 inch Dobsonian reflector or a 3–4 inch refractor, bought in the roughly $200–$600 range depending on the source, is the typical starting point recommended by astronomy organizations.